- Published on
How to make your own iMessage sticker pack
- Authors

- Name
- Jenny Kim
iMessage Sticker Packs: Babysteps for Beginners
⏳ Amount of time it took
- around 5 hours including settings / uploading
🗂 The procedure can be divided into three big parts
- Creating image files of stickers
- Making Xcode project
- Submitting your app
📌 Before you start...
Go to Apple Developer page and join Apple Developer Program.
If you're using more than two phone numbers, make sure the region code of your trusted phone number matches the country or region associated with your Apple ID. You can update your trusted phone number at appleid.apple.com in the Security section. I had to get help from Apple Support because I couldn't submit my enrollment.
✔️ Creating image files of stickers
Messages supports three sticker sizes. You can choose the size you want, but once you choose, all the images should be in that size.
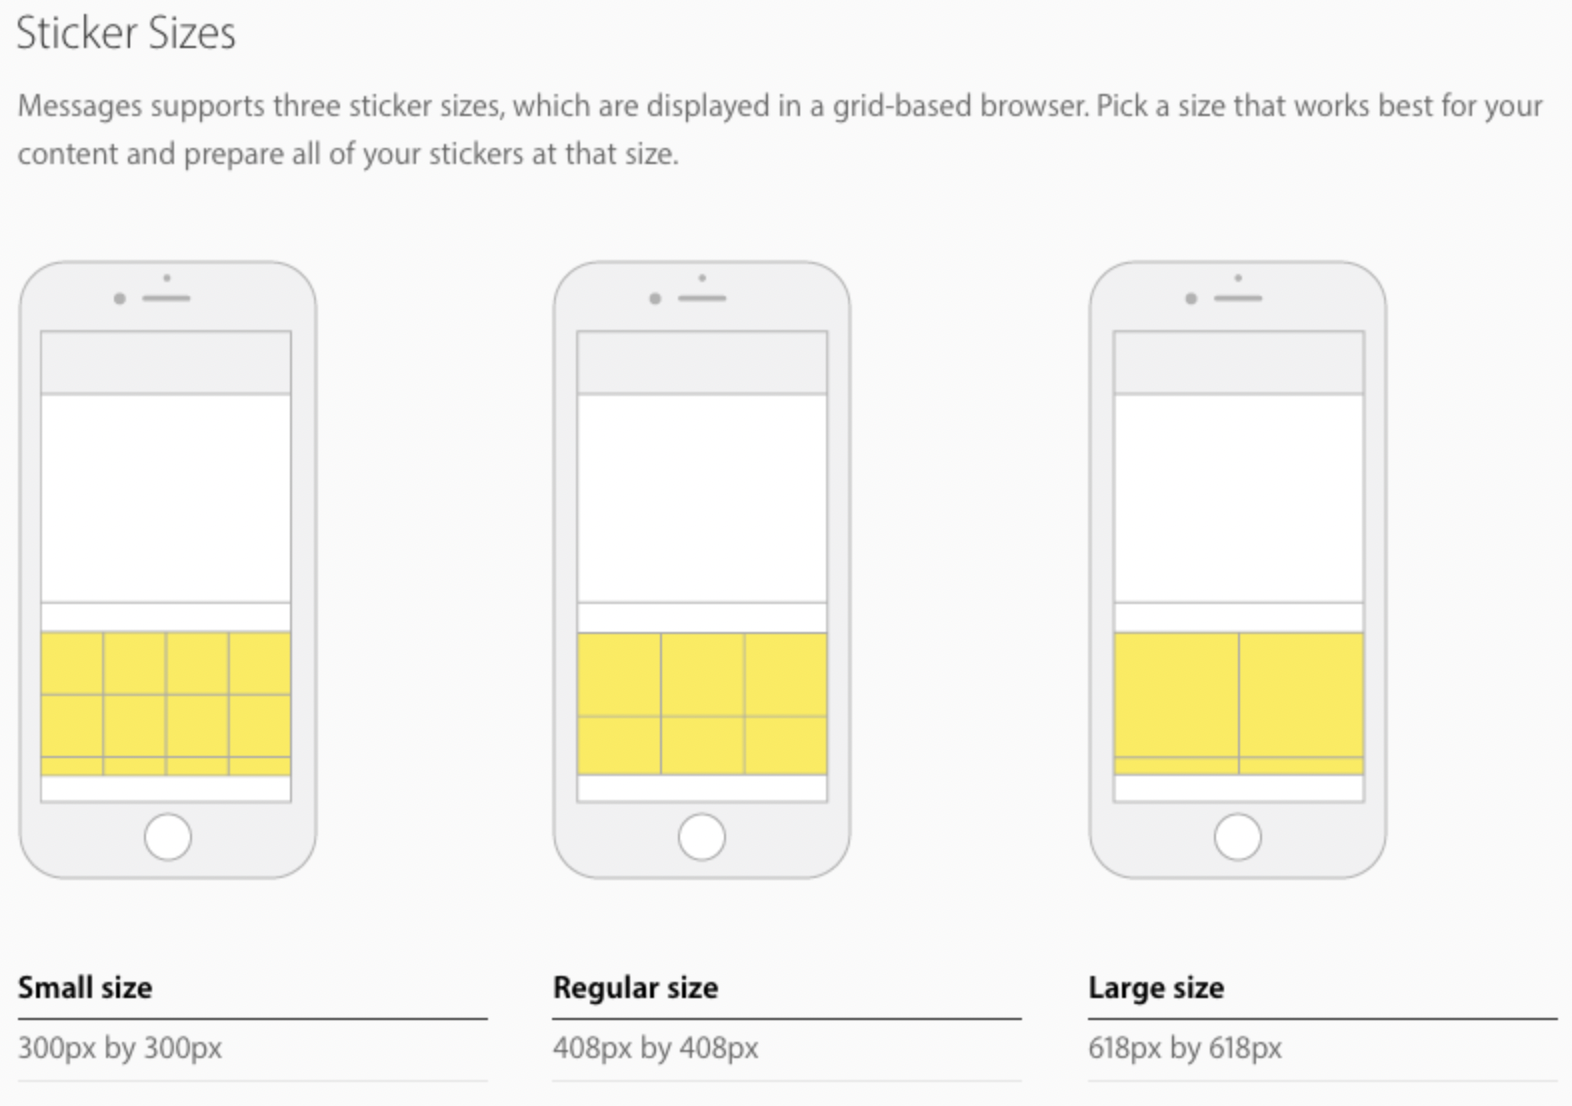
- The image must be a PNG, APNG, GIF, or JPEG file.
- The file must be less than 500 KB
✔️ Making Xcode project
If you don't already have Xcode, you need to download the lastest version of Xcode from App Store first.
Open Xcode
Create a new Xcode project → Sticker Pack App
You'll see this window
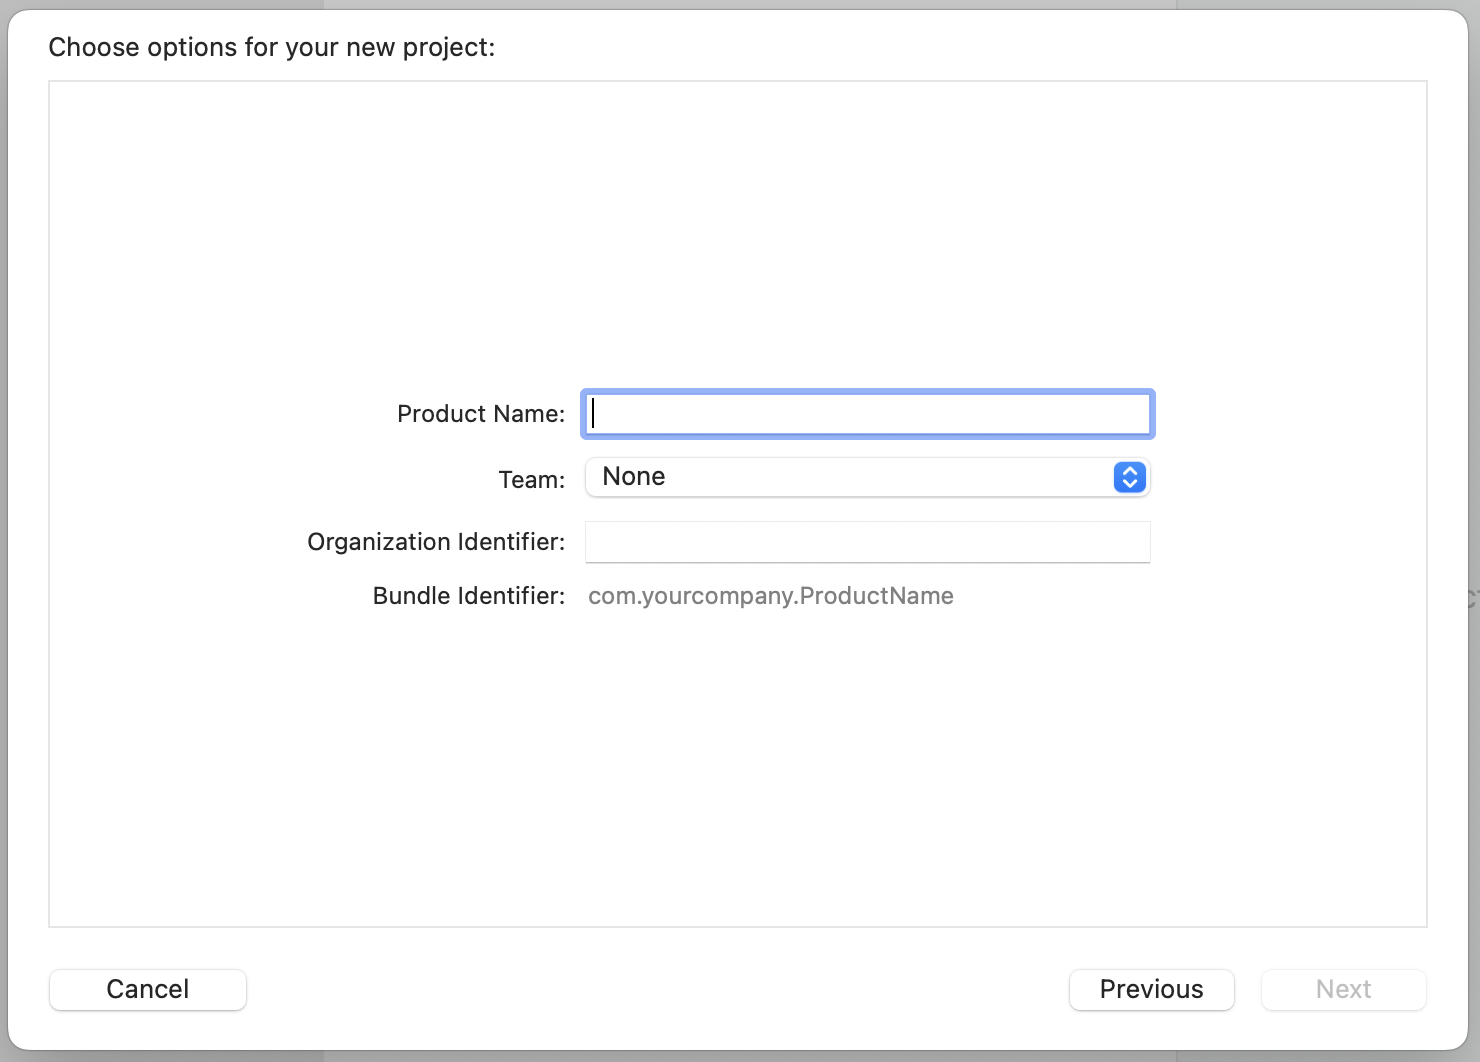
- Name your product
- You can choose your name as a team (Not the one with the (Personal Team)).
- If you have your website, usually it can be written in reverse DNS notation. If your website is
website.com, then the Organization Identifier would becom.website.
Save it, and click Stickers.
For iMessage App Icon, design your own App Store icon and resize it into many different size following the requirements. (It may take some time!)
For Sticker Pack, drag and drop the files you've created.
You can run Simulator and see how it will look like on the iPhone or iPad. Open XCode → Open Developer Tool → Simulator. You would want to take screenshots on iPhone 8 Plus, iPhone 11 Pro Max, and iPad Pro 12.9. Those are the sizes of screenshots you need when you upload your build for them to review. You can't submit the app without two of each.
Once you're done, go to Product → Archive. Then, click Validate App.
If you get an error with Apple Silicon Macs, go to General → Pricing and Availability → iPhone and iPad Apps on Apple Silicon Macs on App Store Connect and uncheck the Make this app available box.
Upload the archive to App Store Connect by clicking Distribute App.
✔️ Submitting your app
Go to App Store Connect.
Upload the screenshots. For iPad Pro (3rd Gen) and iPad Pro (2nd Gen), I uploaded the same screenshots.
Fill out the information. Support URL can just be your personal website, and the copyright would be the year and your name, such as
2022 YOURNAME.Upload the latest build.
For App Review Information, since the sticker app wouldn't need sign-in information, you don't need to check sign-in required box.
For Version Release, I chose Automatically release this version.
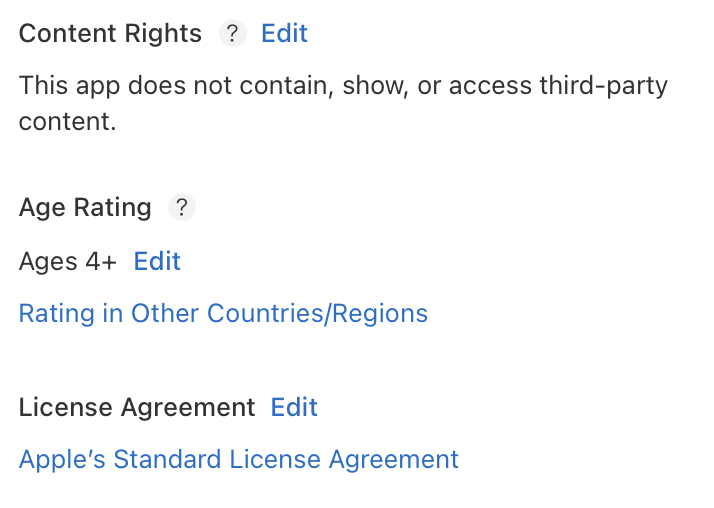
General → App Information
- Content Rights: I created by myself, so I chose This app does not contain, show, or access third-party content.
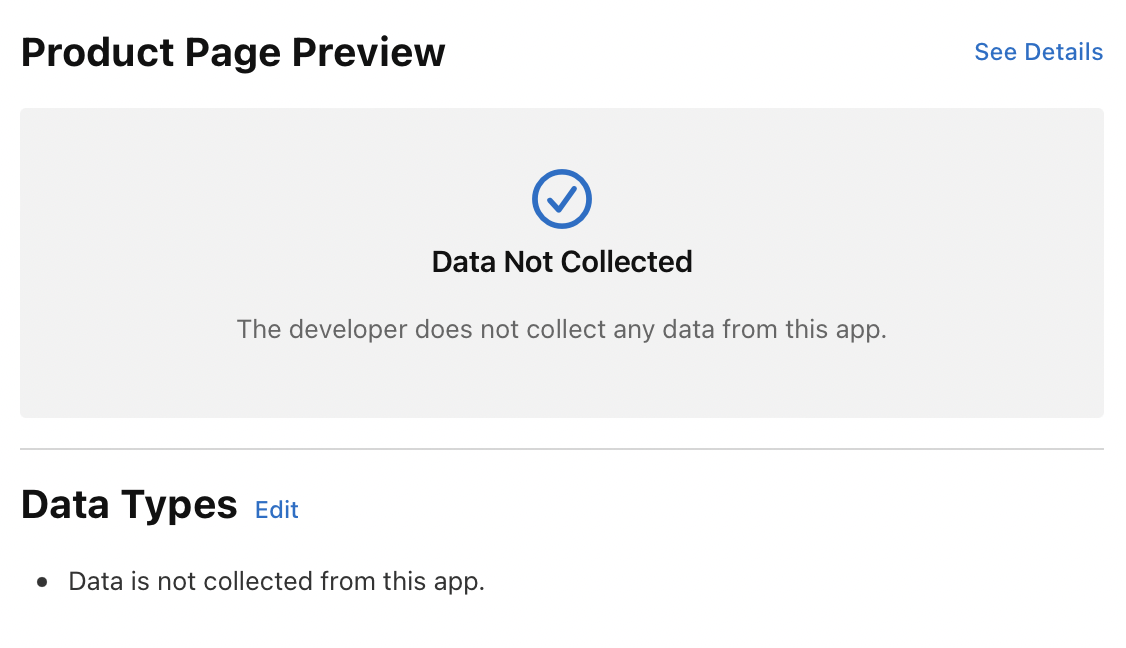
General → App Privacy
Since the sticker app wouldn't collect the data, you can just choose Data Not Collected and move on.
After it gets ready to review, go to General → App Review and submit your app for review.
🎉 Congrats, you're DONE!!!
You'll get an email form App Store Connect saying that they've reveived your app for review.
On average, 50 percent of apps are reviewed in 24 hours and over 90 percent are reviewed in 48 hours. Once we've completed the review, your app's status will be updated and you will be notified.
For me, it took a day.
You'll get email / notification from App Store Connect when the status of your app has changed.
🖇 Mine went through this process:
Prepare for Submission → Ready for Review → Waiting for Review → In Review → Pending Agreement → Ready for Sale
Pending Agreement: I had to set my bank account and submit a tax form since it was the first time uploading an app. For Exemption Status, I chose Subject to Backup Withholding. You can put your SSN number as your TIN number if the type of beneficial owner is Individual/Sole proprietor.
🎁 This is mine!
Here's a link to my sticker pack in the App Store if you want to take a look!